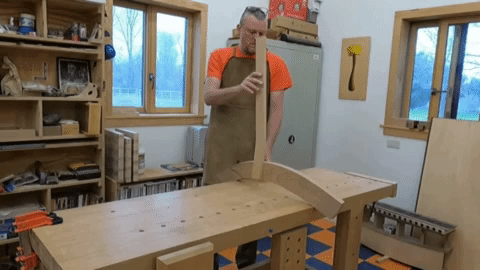
Constructing the chair frame was very challenging. When I started this project, I had a general idea in mind of what I wanted to accomplish. I was also helped along by a photo I discovered online which got me started with some of the basic shapes. However, I still had to figure out on my own how to successfully put together all these irregularly shaped parts.
The primary challenges fall into 3 categories: (1) where to locate the rear support pieces; (2) how to secure the rear legs so that I could accurately attach the front stretcher; and (3) how to locate and attach the curved arm pieces. Let’s explore each of these challenges.
A. LOCATION OF THE REAR SUPPORT PIECES
The rear support pieces attach to the inside of the rear legs and extend up the back of the chair. These are the pieces to which the curved back pieces attach.
If these two pieces are not located in the same location on the rear legs, the rear seat pieces will not attach properly and the chair won’t be comfortable and won’t look good. Because the rear legs are oddly shaped, it would be difficult to locate these parts consistently using a ruler or similar method. The solution I came up with was to use the same template I used to make the rear leg pieces.
After much trial and error, I figured out precisely where the rear support pieces needed to be attached. I then drilled three small holes in the rear leg template marking this location. Then I place the template on the rear leg piece, mark the location of each hole with a small punch, and then draw a straight line through the resulting marks. This gives me a straight line showing me precisely where to attach the rear support piece. Problem solved.
B. ATTACHING THE FRONT STRETCHER
The front stretcher is located in the front of the chair and holds together the two rear leg pieces.
![]()
The challenge here is not how to attach the front stretcher. Rather, the challenge was how to properly secure the two oddly shaped and unbalanced rear leg pieces so that the front stretcher could be attached.
This was a head-scratcher, but having grown up with farm animals, the idea eventually hit me. How do you restrain a cow and prevent it from moving so that you can vaccinate it? You use a cattle chute. So, I designed a cattle chute of sorts to hold the rear legs in the correct location and orientation.

The walls of the chute are secured to the workbench and the leg pieces are secured to the walls. This not only holds the leg pieces, it secures them in the correct orientation. There is a spacer in the back so that the legs are the correct distance apart. I can then locate and attach the front stretcher. Problem solved.
C. LOCATING AND ATTACHING THE CURVED ARMS
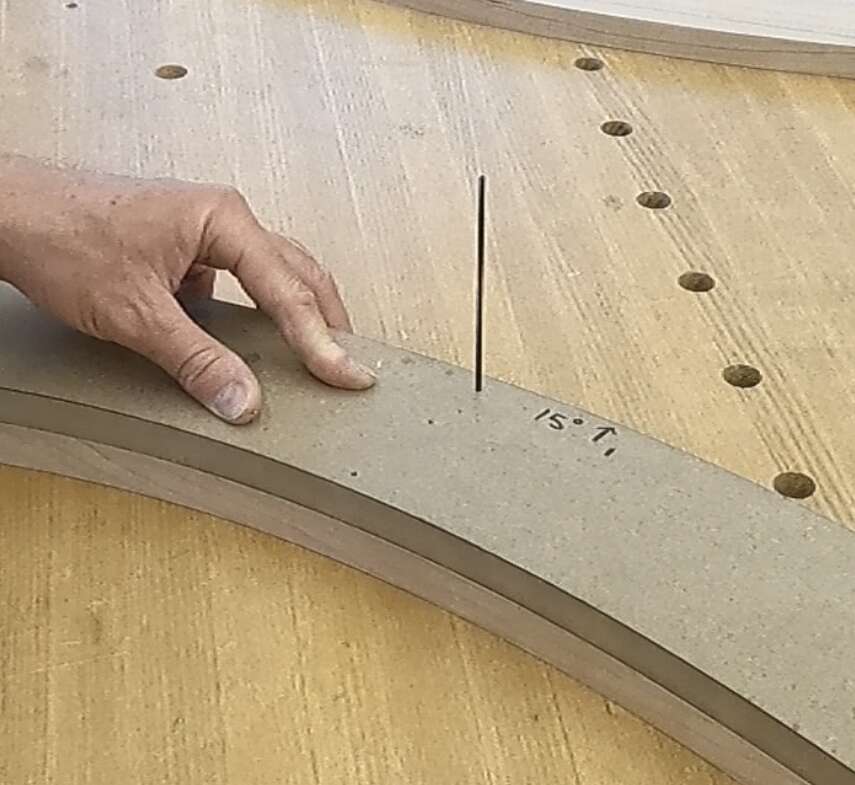
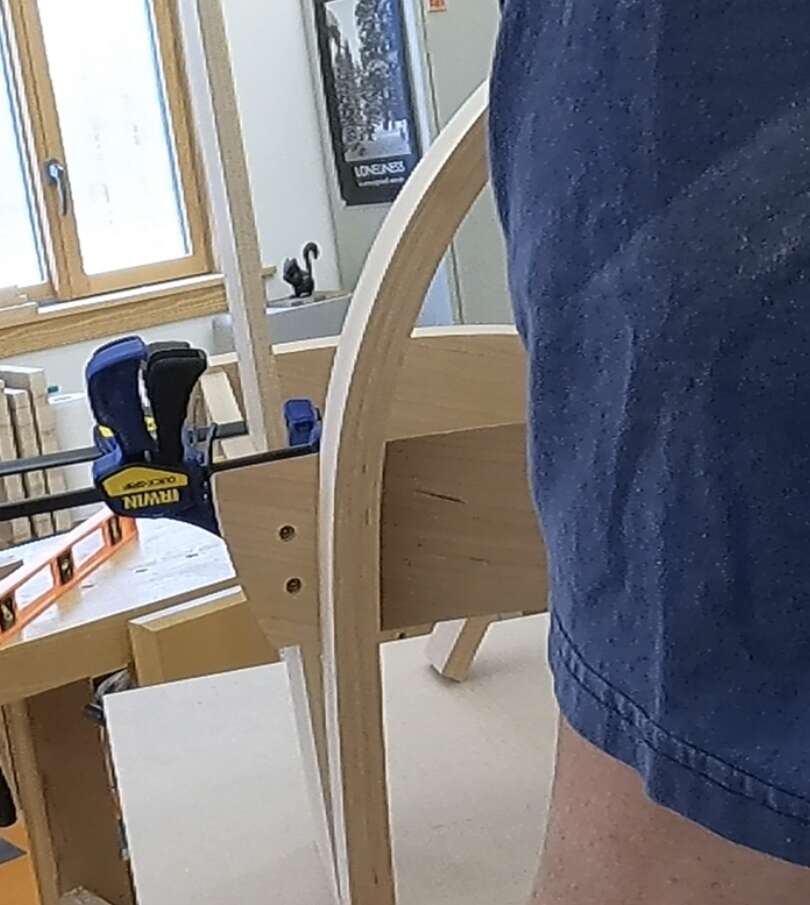
Figuring out how to locate and attach the curved arm pieces was probably my biggest challenge. The arm and rear leg are both curved making traditional methods of measurement difficult. The solution was to make another template. After much trial and error, I figured out exactly where I wanted the curved arm to attach and made a small template which marks this location. This is not the best photo, but if you look closely you can see the pencil line created by the template.
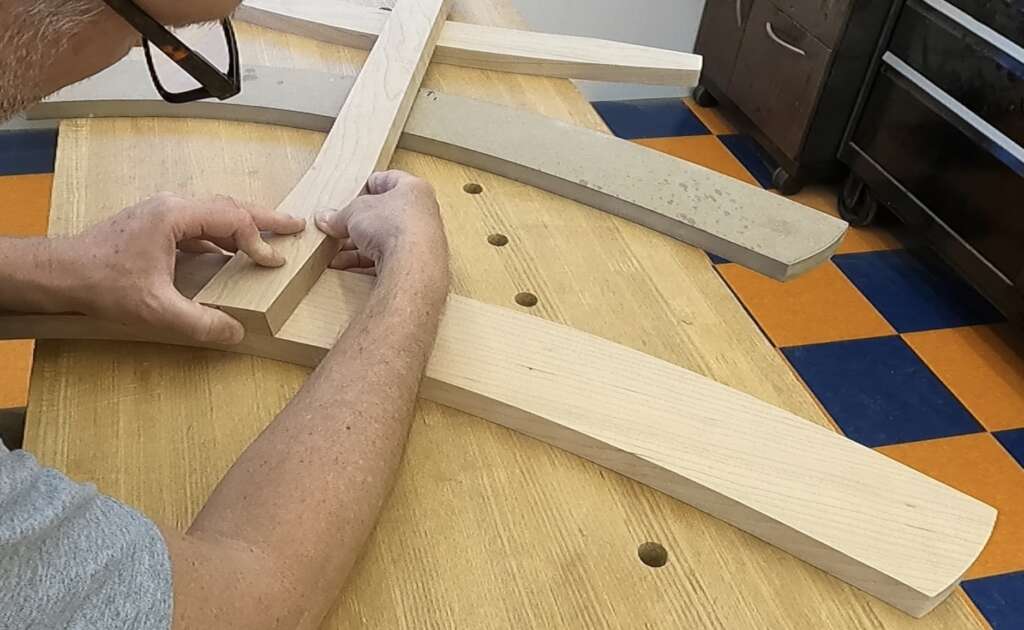
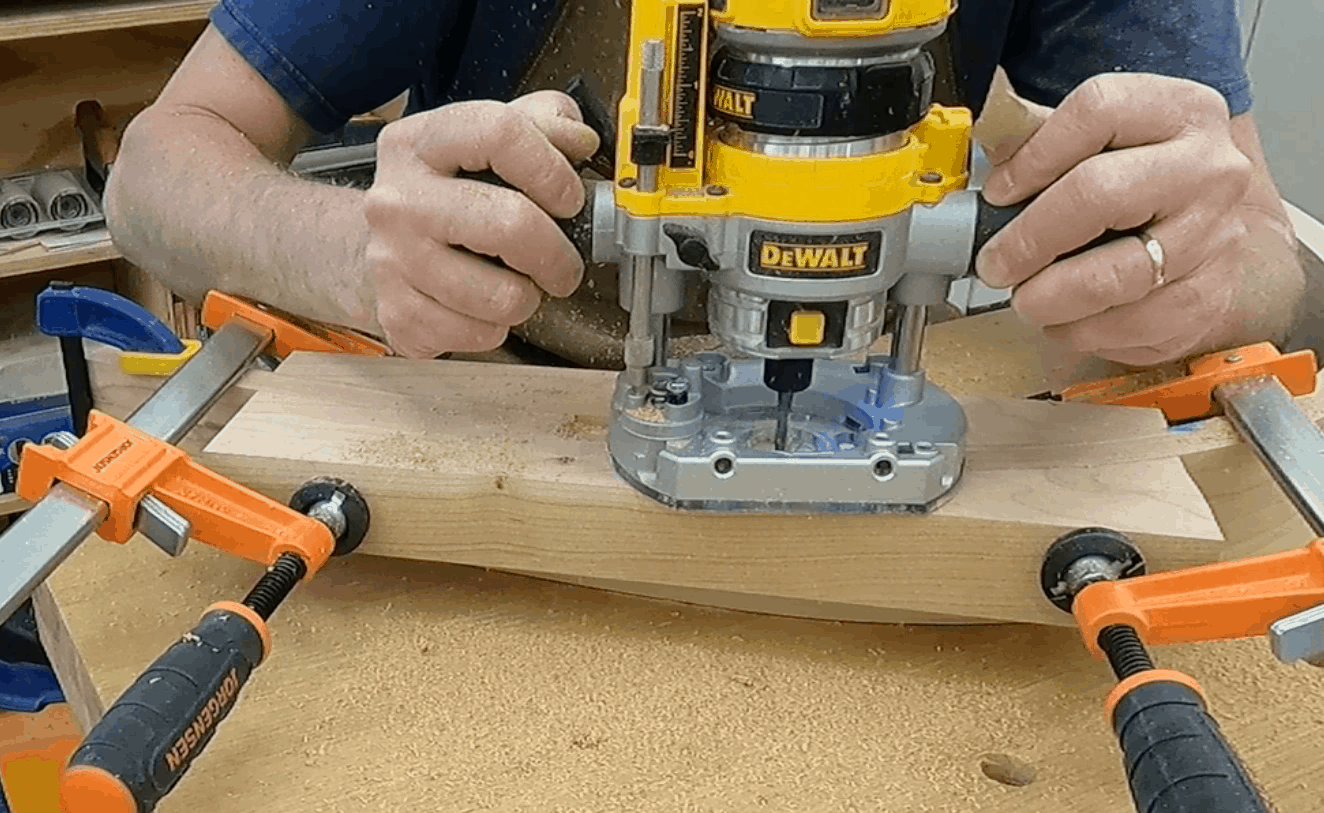
Having figured out WHERE to attach the curved arm, I needed to figure out HOW to attach it to the rear leg. Just attaching the arm piece to the side of the rear leg would not result in a very strong (or visually appealing) joint. So, I decided to cut out a notch in the arm piece which would allow me to slide the arm onto the rear leg piece creating an interlocking (and better looking) joint.

For this to work, however, the notch had to be cut to precise dimensions. After marking the location for the notches, I used a small router to rough cut the notches and then cleaned things up with a chisel.
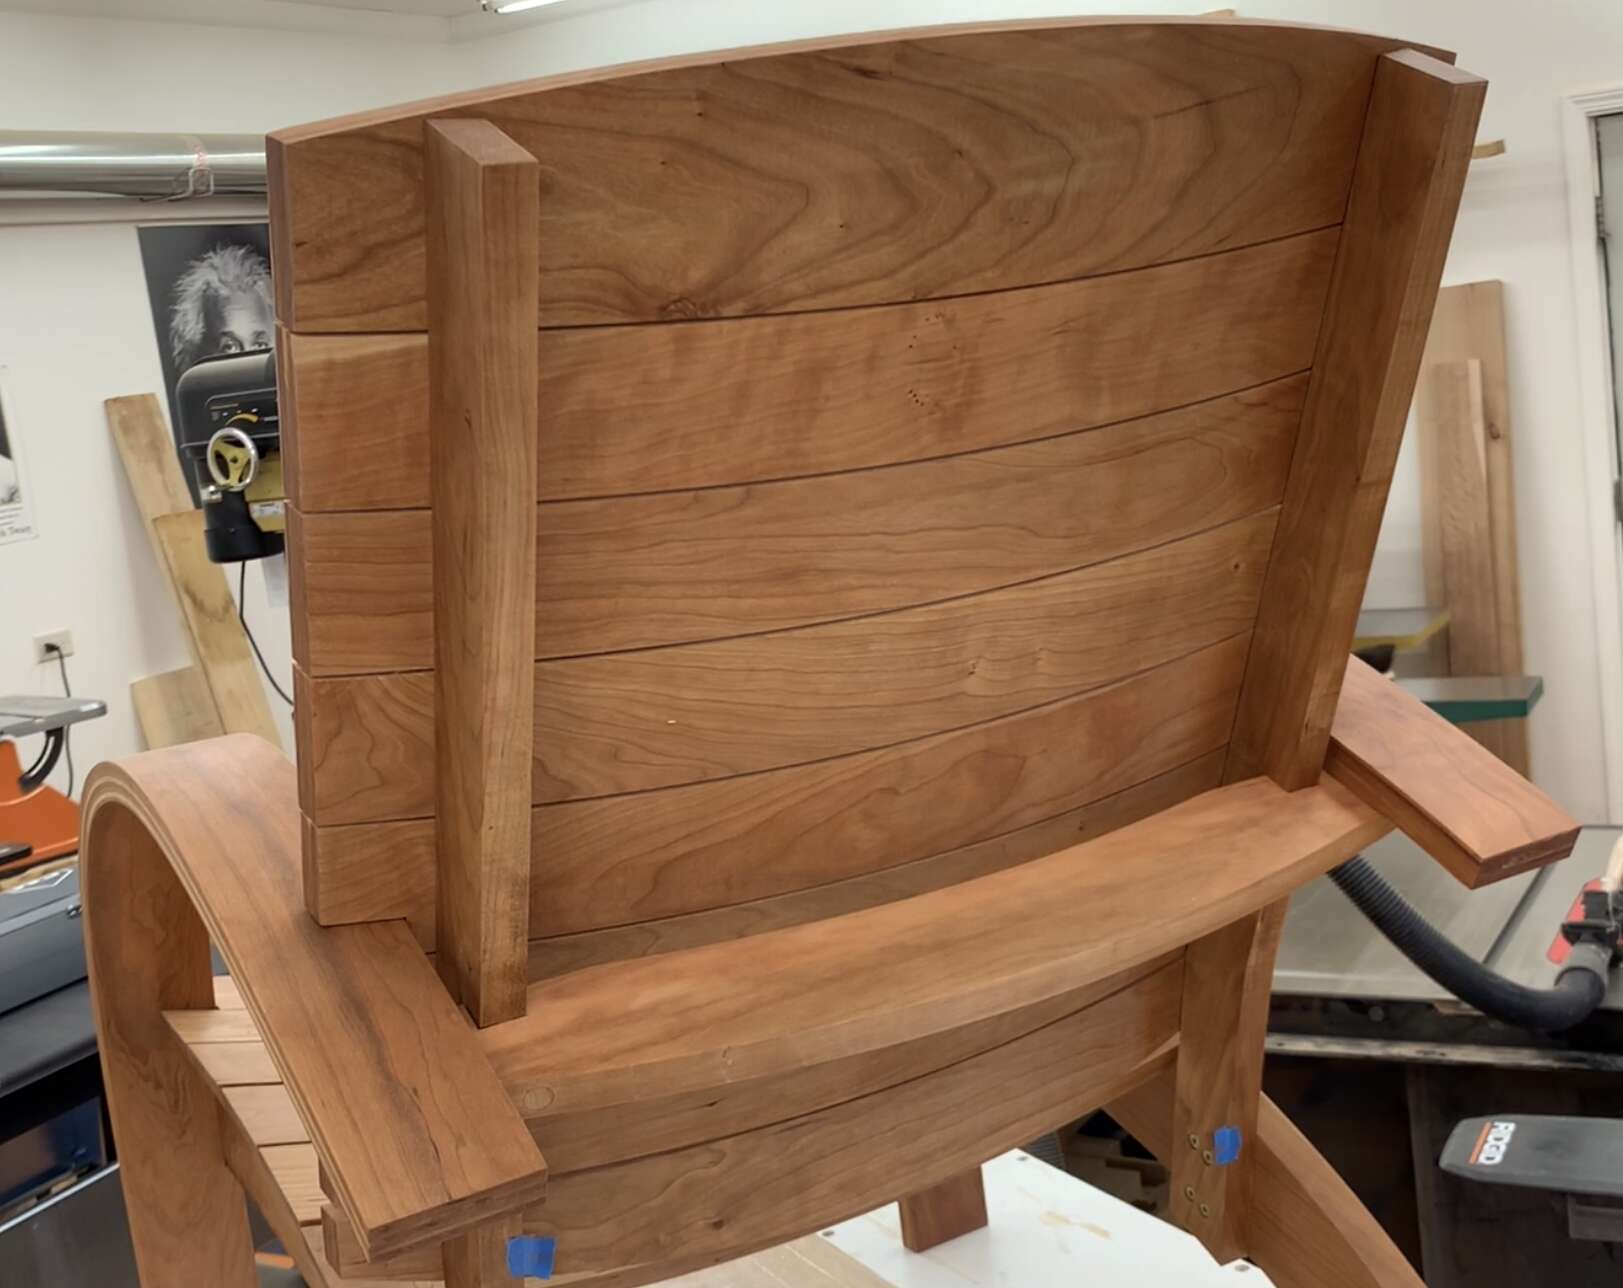
After cutting these notches, the arm pieces were attached to the chair frame. Next, I attached the rear stretcher after which the frame of the chair was complete.
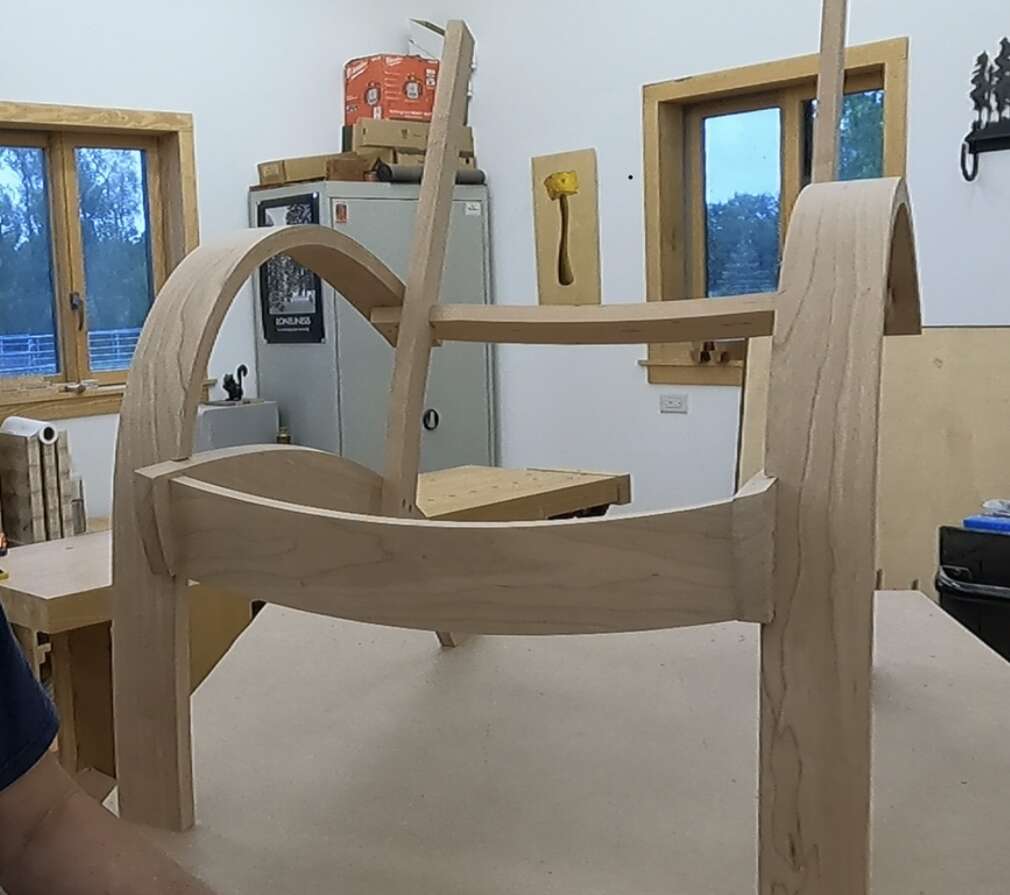
With the chair frame complete, the next step is to make the curved pieces that form the seat and back and attach them to the chair frame. While this process was not nearly as difficult as constructing the frame, it still presented several challenges. Exploring that process, and the challenges it presented, will be the subject of the next blog post.