In addition to the two curved arm pieces, the chair frame consists of: 2 rear leg pieces, 2 rear-support pieces, 1 front stretcher, and 1 rear stretcher.

While these are not bent lamination pieces, making them was still challenging. These pieces are curved and angled and need to be made in a way that is consistent and repeatable. For example, if the two rear leg pieces are not reasonably identical, the curved seat pieces will not attach properly and the chair won’t look good and won’t be comfortable. Same thing with the two rear-support pieces to which the curved back pieces attach. To make sure I get consistent results, I make these pieces using templates.
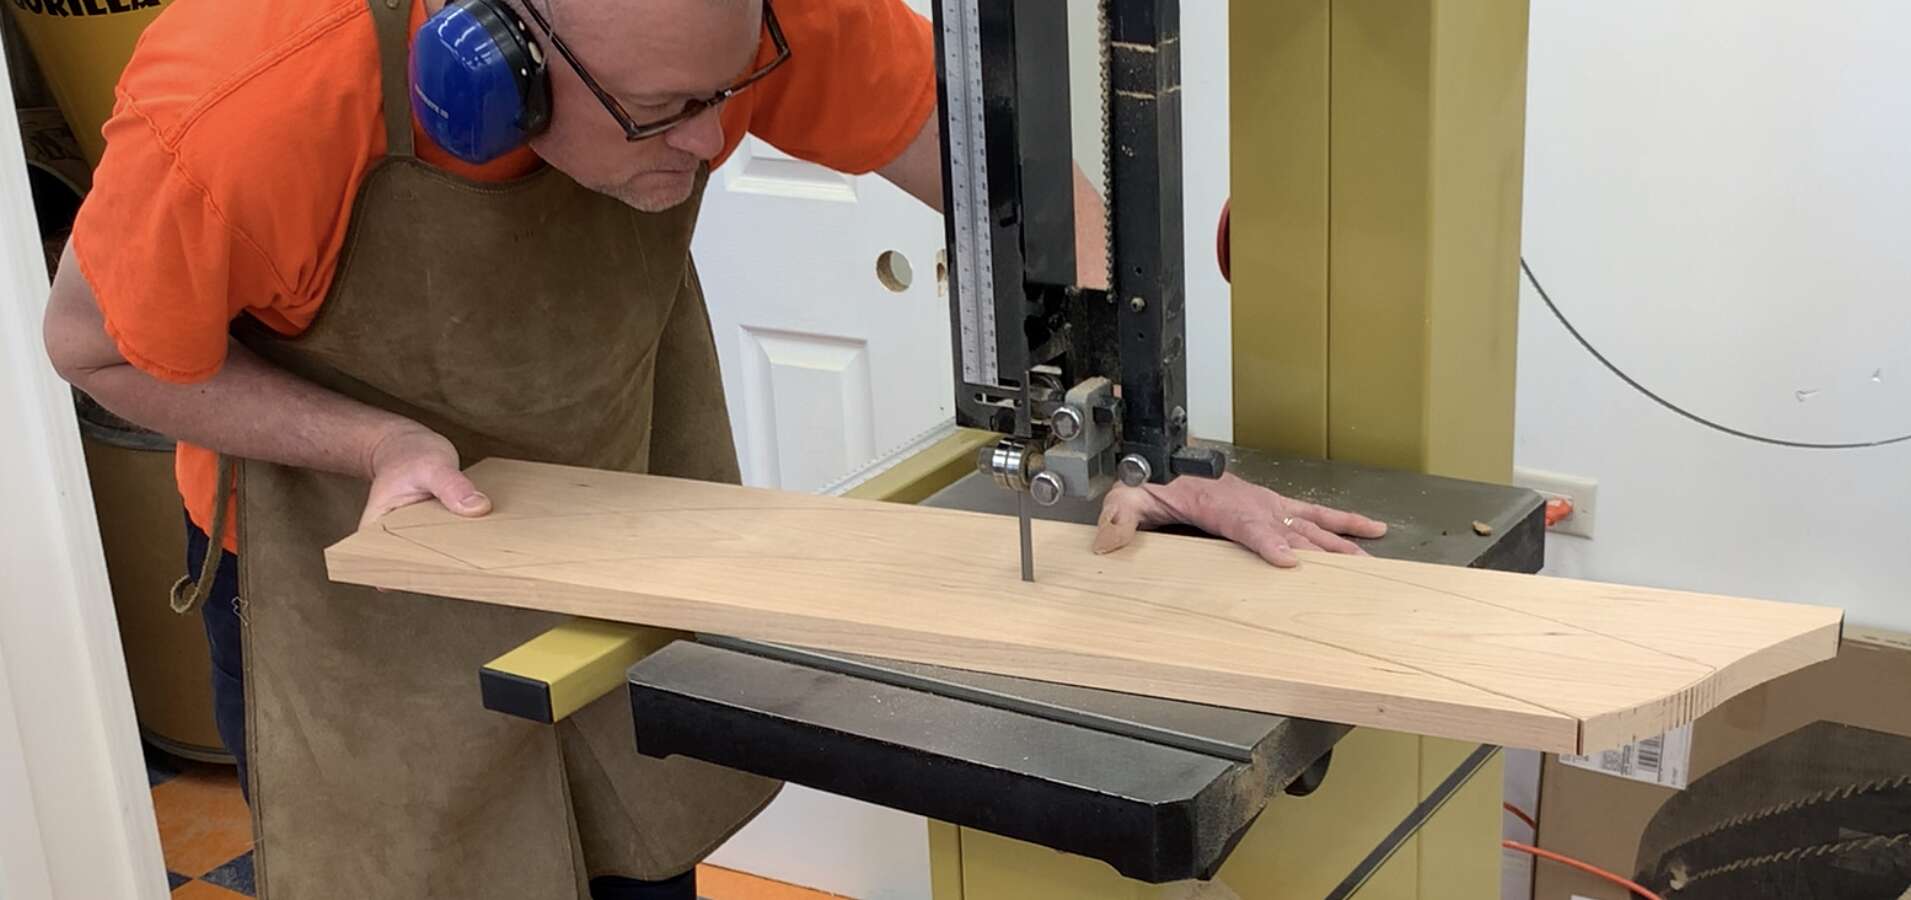
I made these templates from MDF and shaped them to the appropriate size and design. By tracing around the templates, I can mark the shape of each piece on my stock and then cut them out at the bandsaw.
![]()
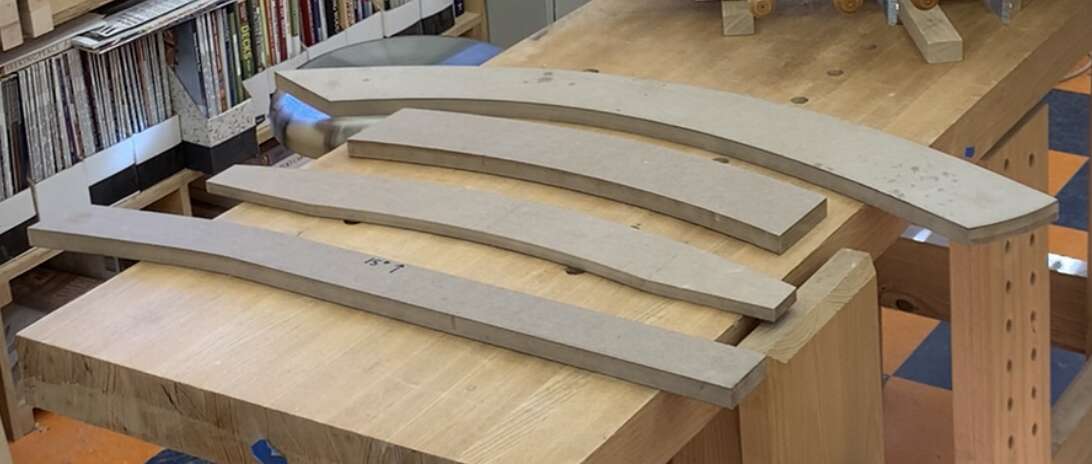
When cutting these pieces I am not trying to cut precisely on my tracing lines. It would be difficult (at least for me) to do this accurately with such large pieces. Here, is an example of one of the pieces I cut out (with the template sitting on top). I cut really close to the pencil lines, but there is still a little material to trim off.
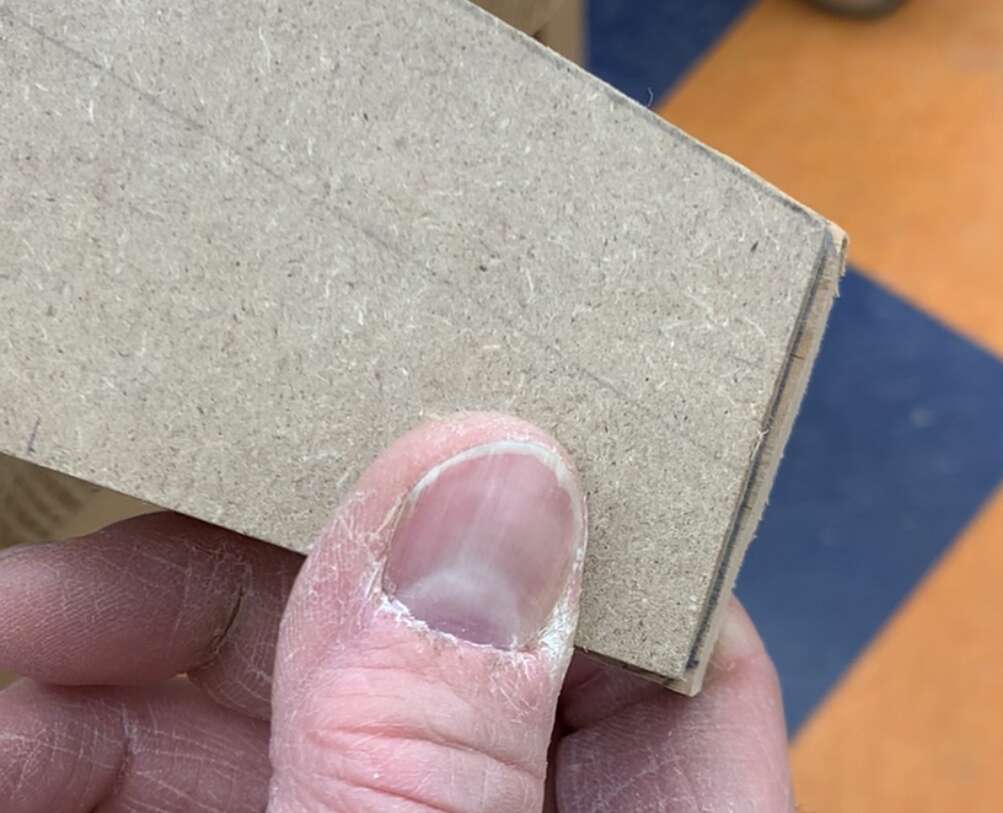
I trim off this excess material using a router and pattern bit. A pattern bit allows you to trim a piece of stock to exactly match the shape of a template.

The template is attached to the top of the work piece with double-sided tape. As you push these pieces through the work area, the guide bearing at the top of the bit rides along the template while the cutter trims the work piece underneath to exactly match the template.
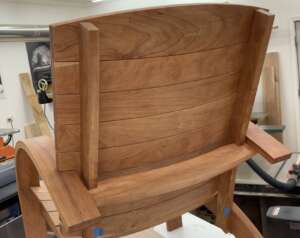
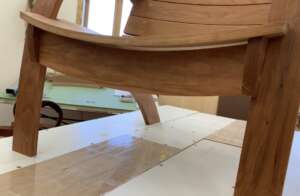
In a nutshell, this is how these six pieces were created. After making the two curved arm pieces and these other six pieces, we have this collection of parts. We’re now ready to tackle the actual construction of the chair frame.
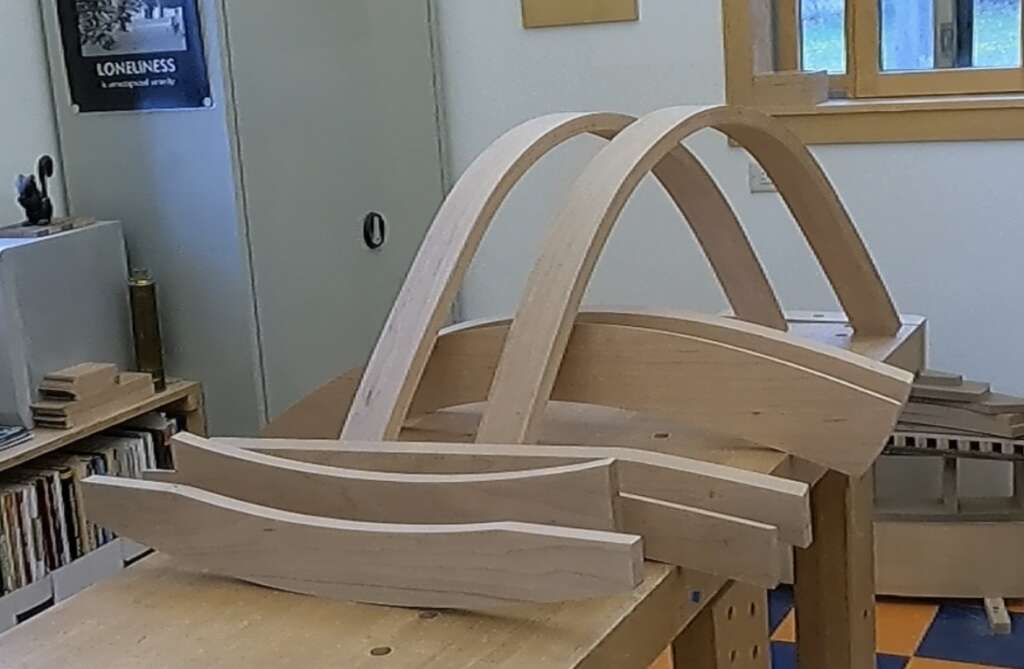
In the next installment, we’ll examine how these various parts were constructed to form the chair frame.