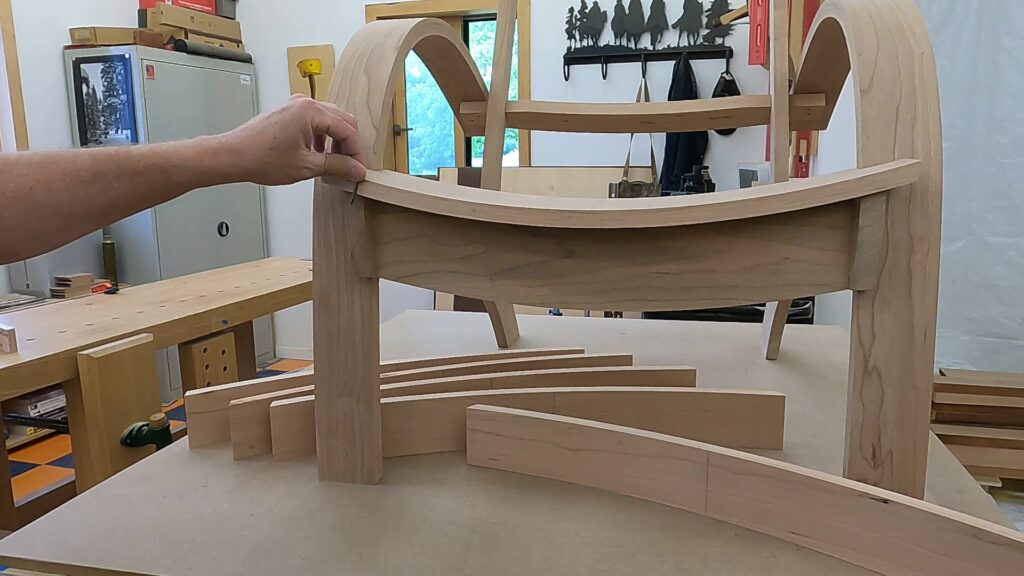
After taking the glue-ups out of the bending form (and cleaning them up a bit), we’re ready to make the seat pieces. The first piece we’ll make is the curved piece at the front of the seat.

There are three things we need to do to make this piece: (1) cut the workpiece to length; (2) cut out the notches so that the piece fits around the curved arms; and (3) cut the curve on the front edge.
CUTTING TO LENGTH
The seat and back pieces need to all be cut to the same length, but it’s also important that the ends of these pieces be cut at an angle that’s visually appealing. Through trial and error, I figured out that to get the look that I liked, I needed to hold these pieces flat and cut them with the table saw blade at a 65 degree angle.
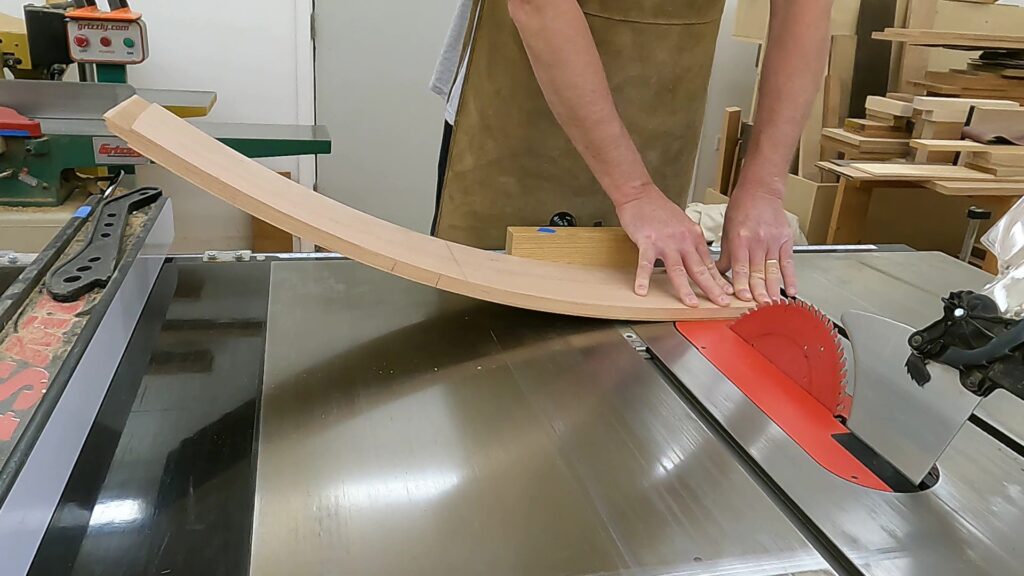
It should be obvious, however, that actually holding the pieces like this to cut them would be incredibly stupid. So, I had to figure out how to get the cut I wanted without losing my fingers in the process. What I came up with is this homemade jig.
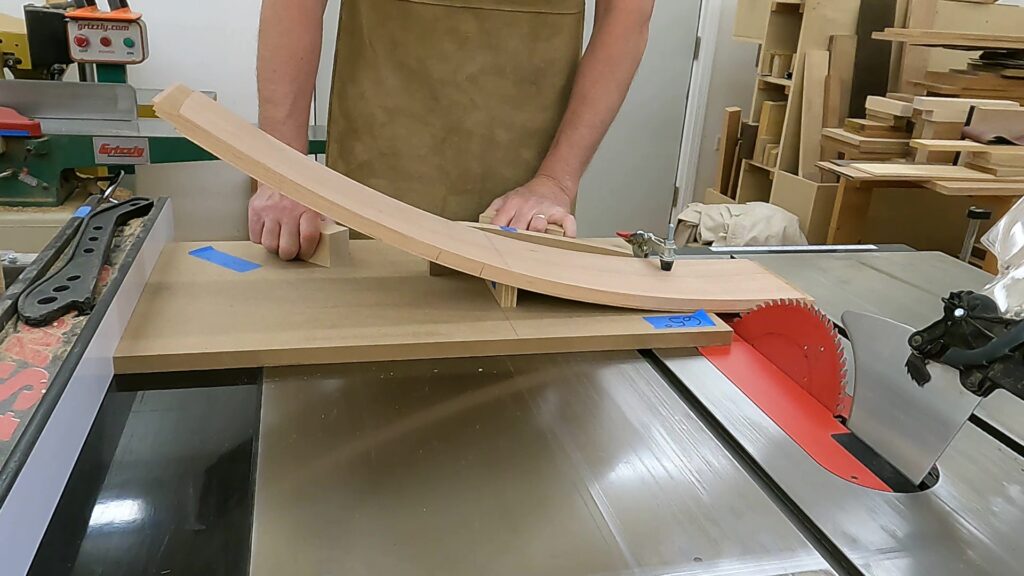
It securely holds the workpiece in the proper location and at the correct angle. This allows me to cut each of the seat and back pieces to the same length with the proper angle on all the edges.
CUTTING THE NOTCHES
The workpiece is curved, the rails it sits on are curved, and the arms passing through the workpiece are curved. So, I have to cut the notches at particular angles. I can make two of the cuts at the bandsaw using another homemade jig.
The other two cuts have to be done by hand because the workpiece is too long to fit through the throat of the bandsaw.
CUTTING THE FRONT CURVE
Finally, we need to cut the front curve. I mark the curve with a template. However, because this piece is curved I can’t use a “regular” MDF template.
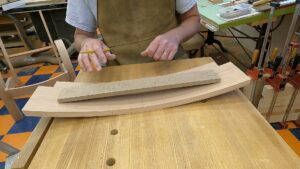
Instead, I made a template out of hardboard which I can bend to the shape of my workpiece.
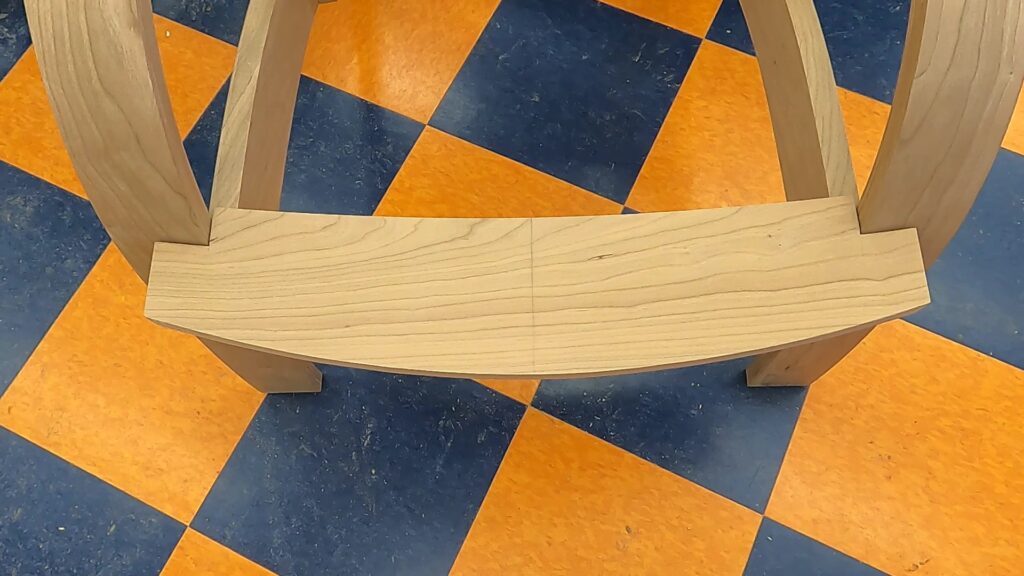
After cutting the front curve at the bandsaw (and cleaning it up with a rasp and sandpaper), the piece fits perfectly on the chair frame with the notches cut at the correct angles.
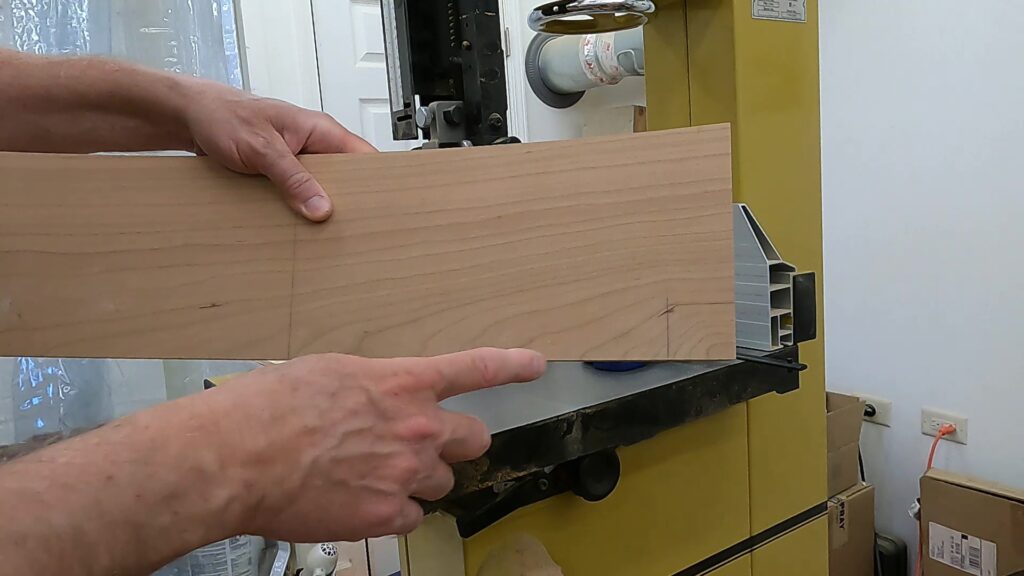
I can now make the rest of the seat pieces, but before attaching them I need to drill pilot holes for the screws. As you can see, however, the seat pieces are curved and the legs on which the seat pieces attach are fairly narrow.
So, if I don’t drill the pilot holes in the correct location and at the correct angle, I run the risk that the screws will pop out the side of the leg piece. After marking the location of the pilot holes, I drill them using the same jig that I used to cut the seat pieces to length. The jig holds the pieces at the proper angle so that I can accurately make the pilot holes at the drill press.
Once the pilot holes are drilled, the seat pieces can be attached.

The process of making and attaching the back pieces is the same as for the seat pieces. In the next (and final) installment, we’ll plug all these screw holes, do some final clean up, and then apply a coat of tung oil.